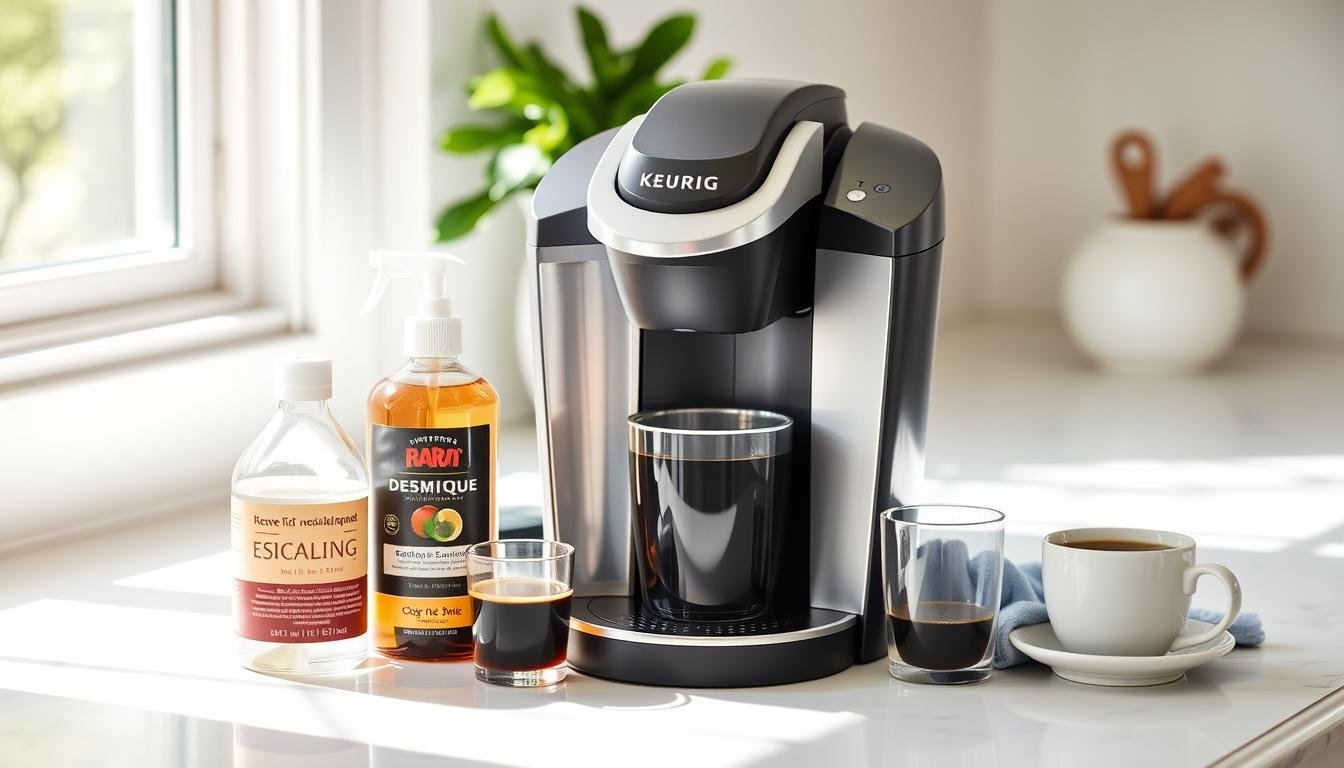
This is a close-up view of a sleek, modern Keurig coffee maker on a clean kitchen countertop. It is surrounded by essential maintenance tools like a descaling solution bottle, water reservoir, and a small bowl filled with coffee grounds, all set in bright, natural light. The background features subtle hints of a cosy kitchen atmosphere with soft colours and minimalistic decor.
A clean Keurig makes better coffee. Regular maintenance stops mineral buildup and keeps your machine working great.
Cleaning your coffee maker can save you money. It also makes your daily coffee taste better.
This guide will show you how to describe your Keurig. We’ll break down the process into manageable steps.
These tips will help you care for your coffee maker and learn how to keep brewing perfect cups every day.
Why Descaling Your Keurig is Essential
Your Keurig coffee maker brings you tasty coffee every day. But it needs care to keep working well.
Minerals from water can build up inside your Keurig. This can make your coffee taste terrible.
These minerals can also block water flow. They can make your machine work harder than it should.
Regular descaling helps your Keurig last longer. It also keeps your coffee tasting great.
Challenging water areas need more frequent descaling. This keeps your machine running smoothly.
Think of descaling as a check-up for your Keurig. It’s like taking care of your car.
A clean Keurig makes better coffee. It also lasts longer and uses less energy.
How to Prepare for the Descaling Process
Descaling your Keurig needs careful planning. Gather your supplies before you start.
You can use a Keurig descaling solution or white vinegar. Both remove mineral buildup well.
The Keurig solution is made for your machine. White vinegar is cheaper and works for routine cleaning.
Your descaling supplies checklist should include the following:
- Keurig descaling solution or white vinegar
- Large ceramic mug or container
- Freshwater
- Paper towels or clean cloth
- Access to a sink
Unplug your Keurig and let it cool completely. Remove the water filter and any K-cups.
Good prep makes descaling easy and quick.
Step-by-Step Guide to Descale Your Keurig
Descaling keeps your Keurig working well. Get your descaling solution and a big ceramic mug ready.
Empty the water tank. Take out any water filter.
Pour the descaling solution into the tank. Add fresh water to the max fill line.
Put the mug on the drip tray. This gets it ready for rinsing.
Hold the power and 8oz buttons for three seconds. This starts descaling mode.
Your Keurig will flush hot water to remove buildup. This gets rid of mineral deposits.
When it’s done, empty the mug. Run clean water through the machine several times.
This step removes any leftover solution. It prevents a chemical taste in your coffee.
Your Keurig is now ready to make tasty coffee. Descale every 3-6 months for best results.
Aftercare: Keeping Your Keurig in Top Shape
A well-organized kitchen countertop featuring a clean, shiny Keurig coffee maker surrounded by essential maintenance tools like a descaling solution bottle, a soft cloth, and a cup of fresh coffee. Natural light streaming in from a window highlights the smooth surfaces and the subtle reflections on the Keurig. Soft greenery in the background adds a touch of freshness and warmth to the scene.
Clean your Keurig often to keep it working well. After each use, wipe the outside with a soft, damp cloth.
Replace the water filter every two months or 60 tank refills. For the best results, use only genuine Keurig filters.
Clean removable parts monthly with mild soap and warm water. Dry them thoroughly before putting them back.
Store your Keurig in a cool, dry place. If you don’t use it for a while, unplug it and remove all water.
These steps will help your Keurig last longer. You’ll keep enjoying great coffee every time.
Troubleshooting Common Descaling Issues
Keurig’s descaling problems can be annoying. But most issues have easy fixes.
Don’t worry if the descale light stays on. This happens to many users.
Check if you did the whole process right. Unplug your Keurig for a few minutes.
Plug it back in. This often fixes minor system glitches.
Some problems come from unfinished cleaning cycles. Use all the descaling solutions.
Run several water-only rinse cycles. Check the water tank for buildup.
If issues continue, call Keurig support. They can help with your specific model.
Regular upkeep stops most Keurig problems. Keep your machine clean for the best results.
FAQ
How often should I describe my Keurig coffee maker?
Describe your Keurig every 3-6 months. This depends on usage and water hardness.
If you notice poor performance or taste, it’s time to describe it.
Can I use vinegar instead of a commercial descaling solution?
White vinegar works well as a descaling solution. Mix equal parts vinegar and water.
Follow the same process as with store-bought solutions.
What happens if I don’t descale my Keurig regularly?
Mineral buildup can reduce your machine’s efficiency. It can affect coffee taste and damage internal parts.
Regular descaling maintains performance and extends your coffee maker’s life.
How do I know when my Keurig needs to be descaled?
Watch for slower brewing, odd noises, and less water flow. Your coffee might taste different, too.
Some newer Keurigs have a light to alert you.
Is descaling challenging to do?
Not at all! Descaling is easy and takes about 30-45 minutes.
Most Keurigs come with clear instructions for the process.
Can descaling fix brewing issues with my Keurig?
Often, yes. Descaling can solve problems like weak coffee or improper brewing.
It removes mineral deposits that can clog internal parts.
What supplies do I need to sell my Keurig?
You’ll need a descaling solution, white vinegar, fresh water, and a mug.
Some Keurigs need their specific descaling solution for best results.
How long does the descaling process take?
The whole process usually takes 30-45 minutes. This includes descaling and rinse cycles.
You can also read more : Days to Years: Calculate Time Conversions Easily


